Discord Addon
To use the discord addon, you need to enable the
enable-discord-addonsetting in the plugins/AxInventoryRestore/config.yml!
Once this is done, reload the plugin with /axir reload and open the generated discord.yml.
Discord Webhook
Toggleable webhook events: backup-create, backup-restore, backup-export
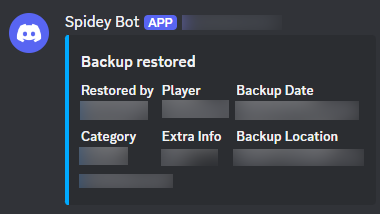
How to set up webhooks?
Go to the channel where you want the webhooks to be sent and click on "Edit Channel"

Click on the "Integrations" tab and then click on "Create Webhook"
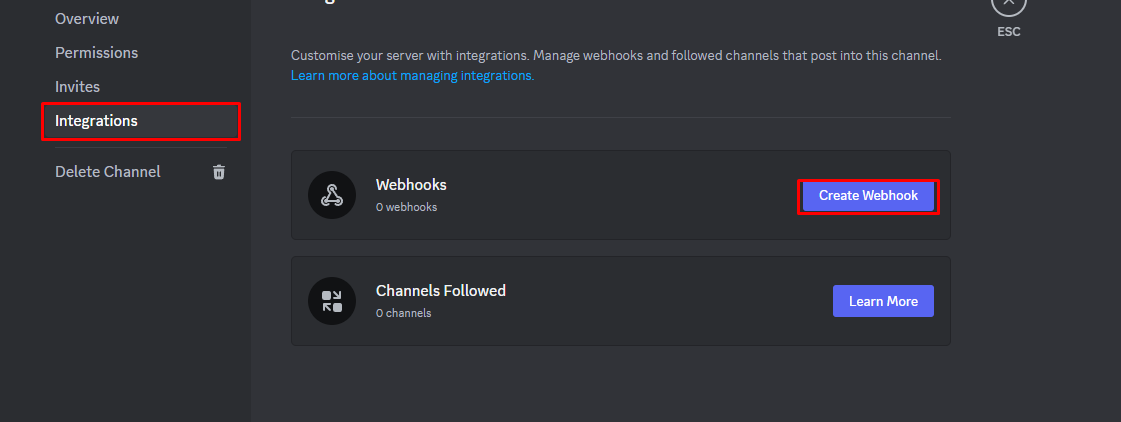
Open the webhook that you just created and click on "Copy Webhook URL"
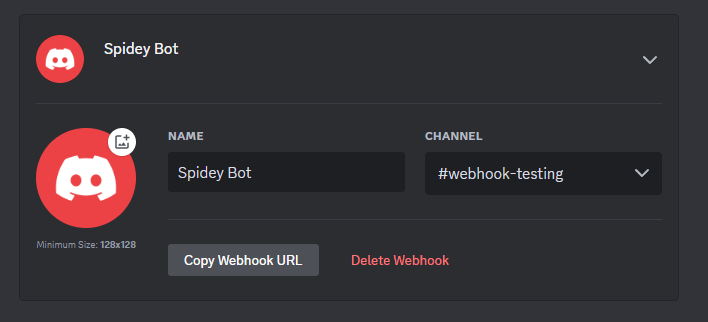
Go to the discord.yml in the plugins/AxInventoryRestore folder and find the webhook URL section.
Paste the copied URL

It should look something like this, feel free to customize the settings, then run /axir reload and test it!
Discord Bot
This feature allows staff with the axinventoryrestore.discord-request permission send a discord embed with 2 buttons to a discord server:
Minecraft side:

Discord side:


When the restore button is pressed, the player will receive the restored inventory.
How to set up the discord bot?
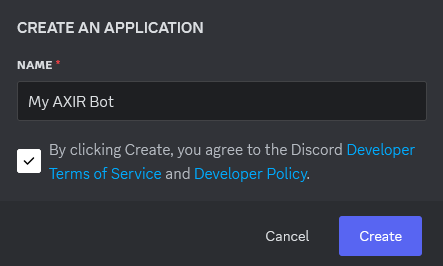
Go to the discord developer portal.
Create a new application that will be used for your bot

Go to the "Bot" section
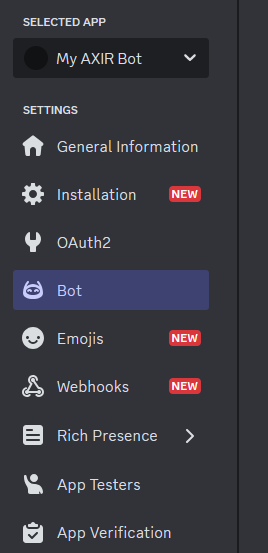
Click on "Reset Token" and generate a new token

Copy the generated token (note: don't ever share this with anyone or else they be able to take over your bot with it)

Go to the discord.yml in the plugins/AxInventoryRestore folder, find the
tokensection and paste the token there.
Go back to the discord developer portal and now choose the "Installation" option
Here first uncheck the "User Install" option, then add "bot" to the Guild Install -> Scopes, then set up the permission that you want for the bot (you can skip this if you want to set it up later) - and lastly, press on "Save Changes"
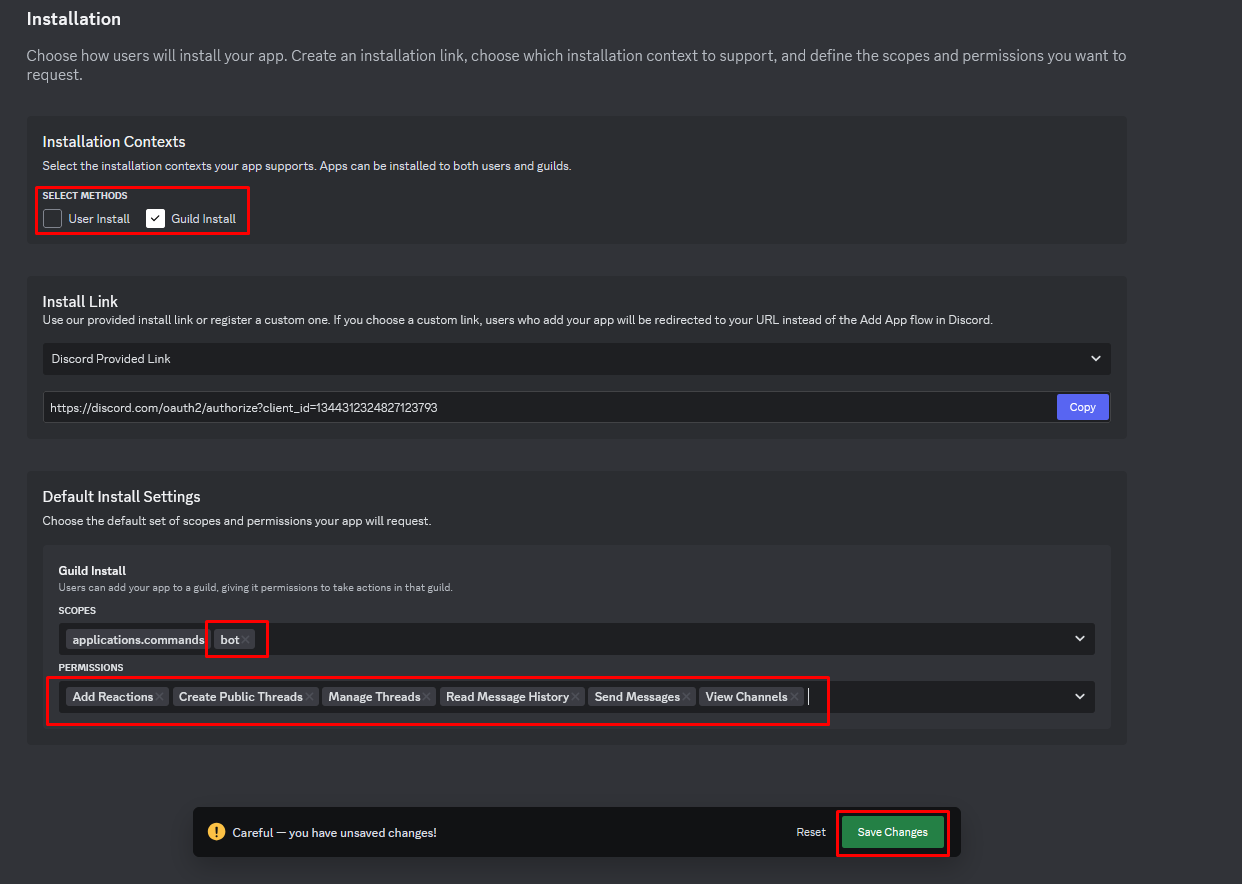
Next, invite the bot with the link that can be found at the "Install Link" section, after that select your server.
After that make sure copy the ID of the channel where you want the bot to post. (make sure to give the required permissions to the bot if you haven't yet!)
In the discord.yml find the
channel-idand put the copied value there.
Everything should be good! Run /axir reload and test the bot. Make sure to test the bot, look in the console for missing permissions or other problems if it wouldn't work.
Optional: Go back to the "Installation" page, set the Install Link to
Noneand on the "Bot" page uncheck the "Public Bot" value! (if you don't do this, other will also be able to invite your bot)